
 Sometimes appliances can be simple individual appliances.
Sometimes they need to be a bit more complex.
Typically, a makeup is sculpted as one thing, so the complete look can be seen as a finished entity. That way you can be sure about proportions – do the ears look right with the nose? Is the chin too long? Are the cheeks level? Should the forehead be less textured for the neck?
The potential variations and relationships of forms on a sculpt can be so numerous that it makes sense to sculpt the makeup as a single appliance. Once that has been approved and a final look agreed upon sculpturally, then the task becomes one of making the appliances in pieces of rubber which someone has to stick on to a face.
Sometimes it makes sense to keep the sculpt as a single piece, like a huge mask which can pull over the head or be applied carefully. This is great if you can do that as it cuts out a lot of mould making and time – it’s frankly cheaper and quicker.
However, a massive piece of soft silicone the size of a dinner plate may be difficult to handle. You’ve got to glue this on and get everything in the right place and get great edges after all…if you have a single piece of rubber weighing a kilo or more, that may be a tricky thing to handle. It all depends on your skill level, and how many times you plan on doing this. A one off pain-in-the-ass application maybe worth doing to avoid all the extra work of making multiple cores and moulds.
What if this thing needs applying twenty times though? Is it better to suffer and hope to get better with each application? Or maybe is it worth making it into a few pieces to make it easier to handle?
Smaller moulds are typically easier to get good edges with, as you have less mould to clamp or bolt together. If one of the pieces doesn’t work out gets messed up, then the others may still be OK, whereas if a large single piece goes wrong, then it may be that the whole thing has to be scrapped and rerun.
If it is something which would be phenomenally easier to apply if broken down into smaller pieces then I thought it would be a good idea to look at the thought process and techniques involved.
It would be picture-heavy I thought, so I’ve made the process into a free workbook to download. Click on the link here or the image below to access it. It will take you straight to the file, no messing:

This was a makeup I did for the UMAe, and I figured documenting the process would be useful to help demonstrate the process I took.
Please let me know what you think, and if you found it helpful then help ME out by sharing it, and mentioning the blog! It really helps me out, and I appreciate your time in even reading this far!
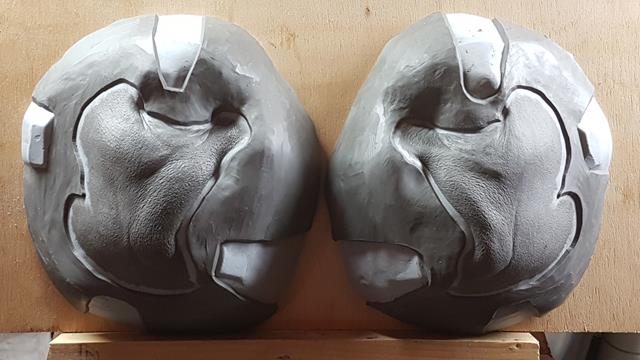
I used a combination of old cores, fibreglass and urethane resin for the moulds, and ran the appliances in Platsil Gel 10 with 180% deadener using Pro Plastic Plus cap plastic, which is an alcohol based cap plastic.
I sculpted using the J. Herbin grade 50 grey plastiline, and applied it using Snappy G silicone adhesive.
I’ll cover the makeup in detail and the casting process in a later post, but for now please check out the workbook if you are curious about making overlapping appliances from a single original sculpt.
Thanks
Stuart
Hello, fantastic and very helpful, thank you! Please can someone tell me where I might find part 2 please? 🙂
Yes yes yes!!! Will be using this soon for sure!! Thank you so much for all your posts and resources, they are invaluable!
Hey Stuart, this was such an informative post. Thanks for being thorough!
I think your tutorials, your podcast and pretty much everything on this website are damn AWESOME and I am SO BLOODY GRATEFUL to you. You rock Stuart Bray! Thank you for sharing your wisdoms 🙂