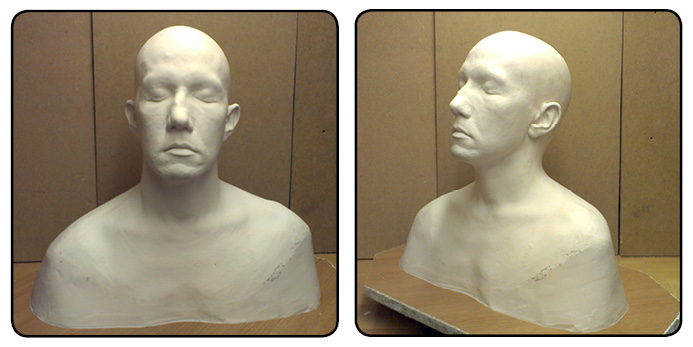
Following on from the last post, I had just replaced the new face on the head cast – so now we have a corrected face on there. There is still a massive line all the way around and
that needs to be dealt with – along with a few other issues.
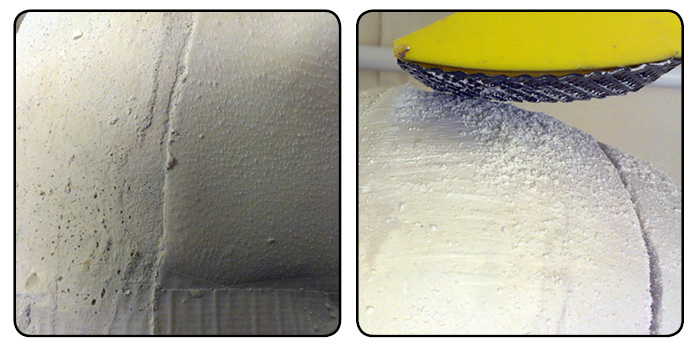
If you look close, you will see all manner of little artifacts on the plaster which need to be sanded or scraped carefully off to create a neat cast. Little bubbles of air in the alginate appear in the plaster positive as raised lumps which need to be removed.
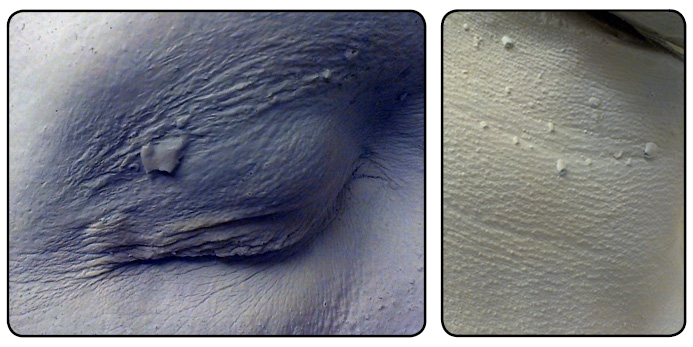
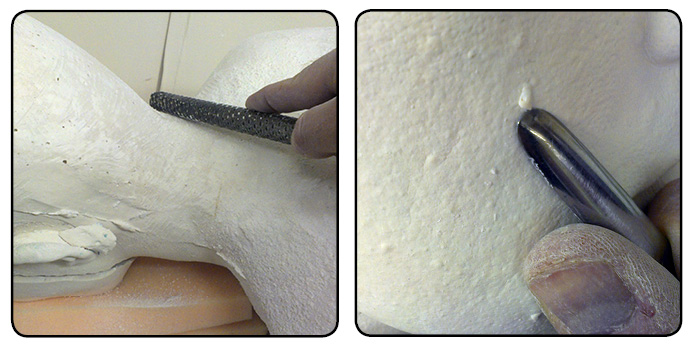
Here you can see some air bubbles on the eyebrow and the neck. These air bubbles are trapped between the alginate and the skin when the alginate is applied, and increases in incidence when the alginate is mixed thicker.
This is easily done using steel sculpting or dental tools. For the larger ones, I use a little file or riffler which shaves and sands down specific areas without damaging the good areas which don’t need to be touched.
Next I need to shave down any seam lines and larger areas such as where the plaster crept over the edge of the shoulders etc. These areas need to be shaved down using a more aggressive tool such as the surform (the yellow tool seen here) which is kind of like a curved cheese grater on a handle.
I also have a round tube-like surform which is great for curves such as the back of the neck. Here the mass of where the hair was under the bald cap needs shaving down. The bulk caused by the hair elastic used to hold the hair in a ponytail is here now in plaster. It has created a lump which is not part of the real head so needs to be shaved down.
Small air bubbles such as this one on the cheek can be flaked off by using a small steel sculpting tool and applying gentle pressure underneath until it pings off. Care needs to be taken to not damage the normal parts….just need to take away that which is not really part of the actual face and no more.
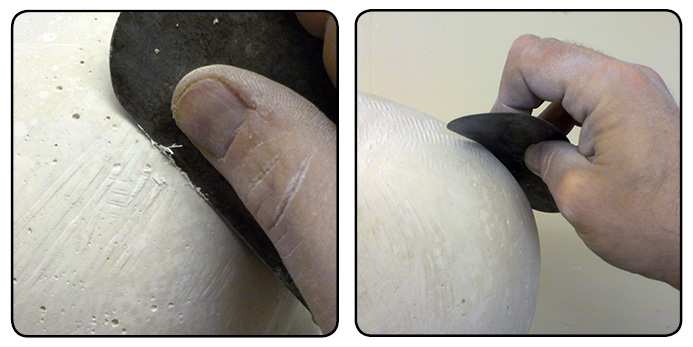
When all the rough stuff is done, I can begin shaving down to a smooth finish. The surform is great but leaves little tell-tale lines or shallow grooves. These can be refined by scraping a steel kidney over them to create a smooth finish.
When the surface is scraped and as smooth as it can be then we need to fix this head securely to a baseboard. I need to make a silicone master mould of this head, so making it fixed to a board is crucial.
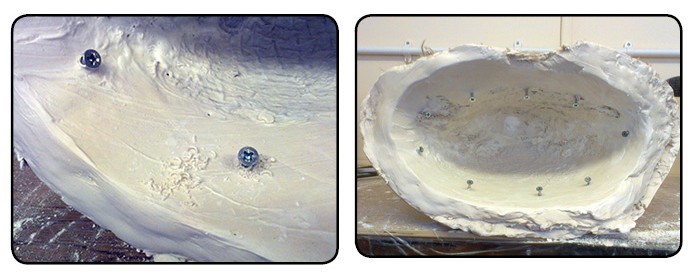
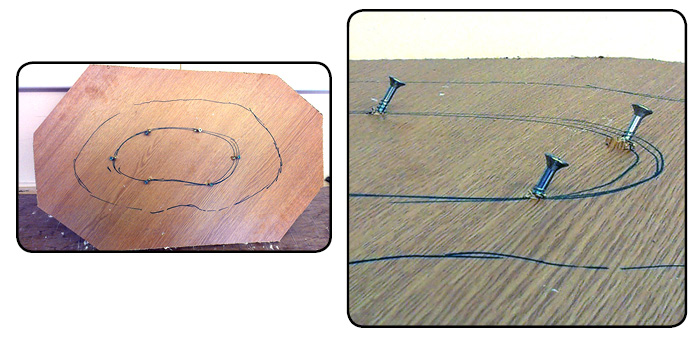
I start by putting a series of small wood screws into the underside, one every couple of inches. This will allow me to attach some plaster and scrim to the inside and create a mechanical bond. Fresh plaster doesn’t always stick well to old plaster so a mechanical fix like this will ensure a more positive attachment.
I pop the head on a board and mark out where I can cut it. I need to cut the board smaller for practical reasons, so I can manoeuvre it more easily and so it doesn’t take up more space than necessary. Placing the head on the board, I measure out from the base of the cast to give me a couple of inches to work with. I placed the head on the board I have diagonally to give me enough room, and mark out where I intend to cut it.
I cut the board and also screw some strips of wood underneath so the board sits off from the table just enough for me to get my fingers underneath so I can lift it and move it around. A simple thing like this will make life so much easier later.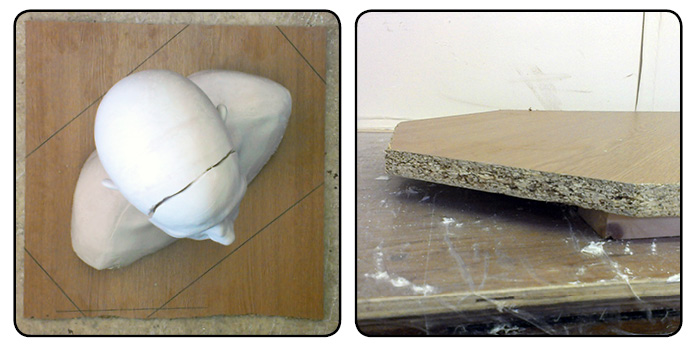
On the board, I use a Sharpie to trace out the ‘footprint’ of the cast. This marks the boundary of the cast itself, and then I make a smaller line inside that. Along this line I attach another row of screws every couple of inches along the line. These will be used for the same reason, so the plaster-soaked scrim material can physically be bonded to the board to create a secure attachment.
Below, you can see that when the head is placed on the board, the screws do not interfere with the head – the are all within the space left inside the plaster head. 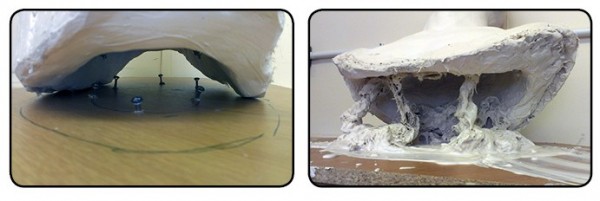
Once I am happy the head can sit correctly on the board, I cut some lengths of scrim and mix up some plaster to create the ‘ropes’ that will connect the board and the head.
Immersing the scrim into plaster, I wrap one end around the screws inside the head, and the other around the screws in the board. They are a little long, so I can tilt the head back in order to get in there.
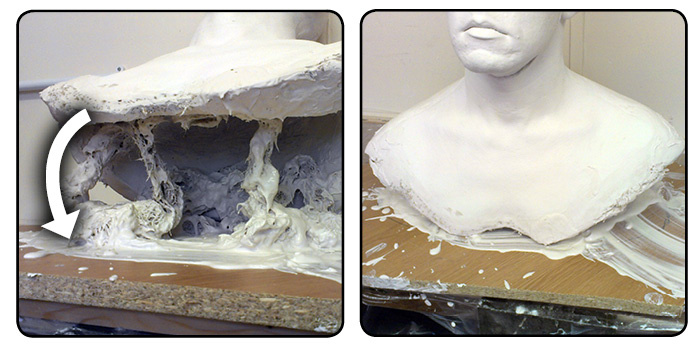 Once they are all connected, I gently lower the head down and allow the plaster on the ropes to set. Once they have, the head is stuck permanently on this board – you’ll have to break it to get it off.
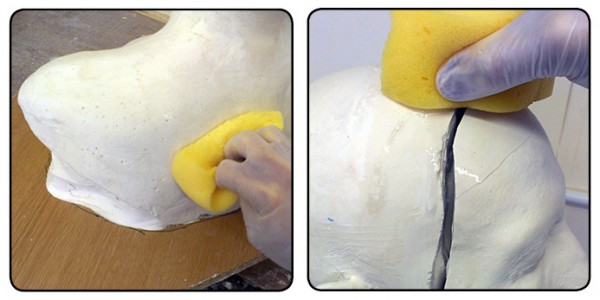
Next I need to square off the shoulders and fill any bubbles which were in the plaster, as well as the seam line on the new face. This plaster is dry so needs soaking with wet sponges so the new stuff I am about to add doesn’t have all it’s moisture sucked out.
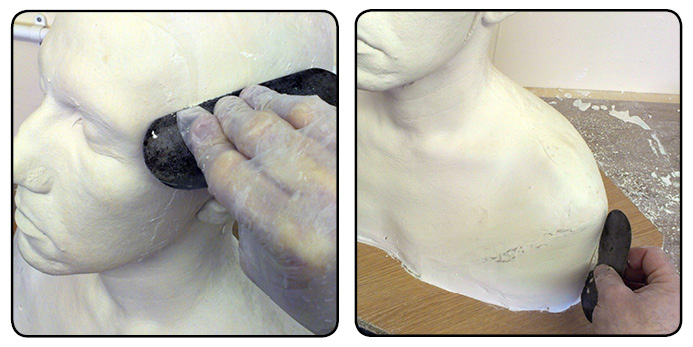
I mix up another batch of plaster and fill the missing shoulders. This is a thick mix, so it stays quite well and I roughly place it in the right areas before it starts to set up. 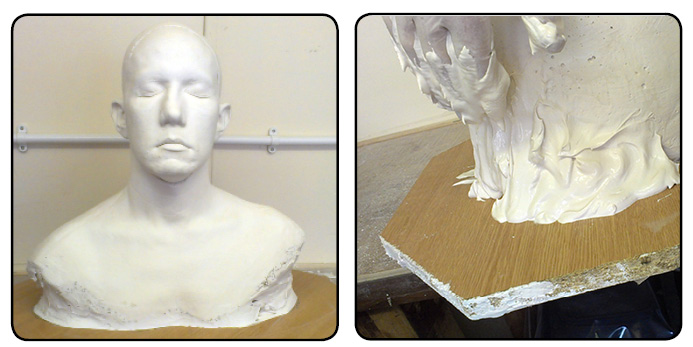
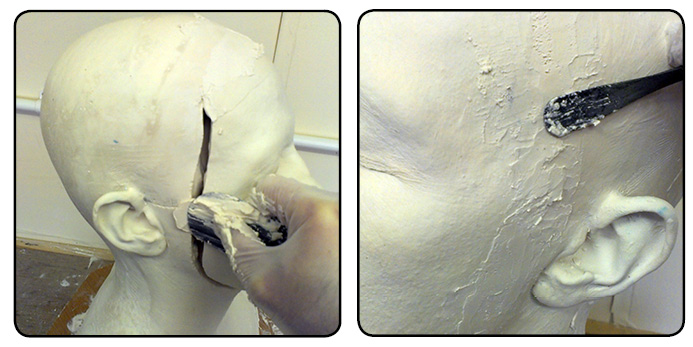
I use the same mix to quickly fill the gap around the face. I use a small, flat bladed plaster working tool to neaten it up.
Then, as it starts to set I use a kidney and plenty of water to smooth and smarten the surface. There is a 5 minute workking time window with this plaster in this cheesy state so I need to work pretty quickly. If it were to set before I were finished, then it can be neatened up with another small batch.
Once that is all done, the plaster head with the new face is now neatly mounted on it’s board and ready to mould. You’d never know there had been a problem. Yay!
Next I will show you making the master mould, where I create a silicone and fibreglass mould of this head so I can make as many heads of Dave as necessary for the various cores needed for this Vampire!
Happy life casting!
-Stuart

