
Snickety snick – making wooden tools is a cinch when you know how!
Making your own tools is fun (if you like that sort of thing, which I do) but also jolly handy when you see the state of most wooden tools available in art supply stores. It’s like knowing how to make bread or fix a bicycle, sorta.
In August I was in Texas, and did a sculpting workshop (post on that soon!) over at Brick In The Yard and we started with making the tools we would use. Why would we do that?
- Well, sometimes great tools are harder to find than you think.
- Making them and customising just the way you want is awesome.
- If one breaks, you know what to do.
- It’s cheaper (certainly if you want a load of tools, which once you start you realise that you do!)
- It is a lot of fun.
[stextbox id=”alert” bgcolor=”21ddd2″]Let me just say, there are some great tool suppliers out there – Alec Tiranti & Potterycrafts in the UK, PS Composites stock Ken’s Tools (which are beee-you-ti-full – I have many in my kit). In the US, Kens Banks’ own ‘Ken’s Tools’, The Compleat Sculptor in NY (their spelling, not mine) and Sculpture House stock all the goodies. [/stextbox]
Anyhow, lets take a look at the making of great wooden tools. I have covered tool types in a previous post (click here to see it) and did an article on making wire loops (get that free here).
Step 1. Buy some cheap pottery tools.
 I bought a box of thirty cheap wooden pottery tools from an online supplier. These hardwood tools are the right material but the wrong shape, so buying these is easier than getting raw wood.
You can of course buy hardwood pieces and do all these steps with them, but it saves time doing it this way.
Pottery usually doesn’t require the same finesse as prosthetic sculpting, so you will usually find these more readily. They are bare wood, dry and too big for most appliance stuff so are an excellent starting point.
Step 2. Cut them in half to double your wood. (Oo-er)
By cutting them down the middle, you get twice as many tools. This works better for wider, flatter tools. If there are thinner tools

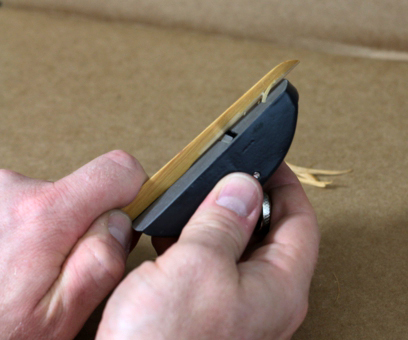
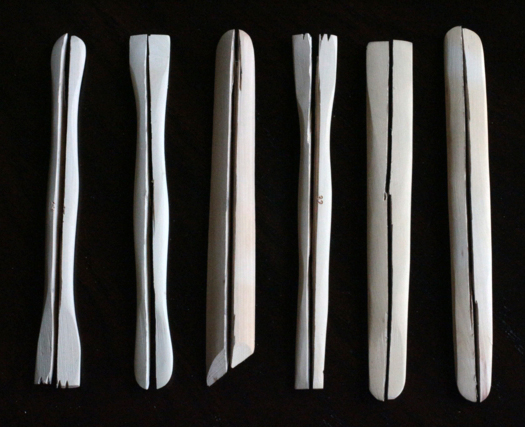 If you have access to a band saw then by all means slice away (mind your fingers!) but I do not so I went about it with a hacksaw, as the thin blade makes a nicer cut for the relatively small pieces of wood.
Step 3. Soak them in linseed oil.
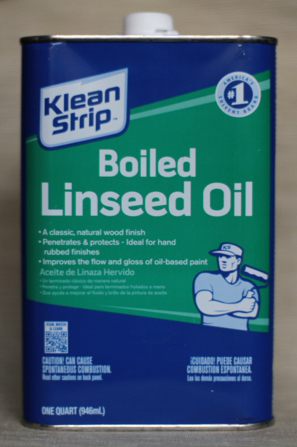
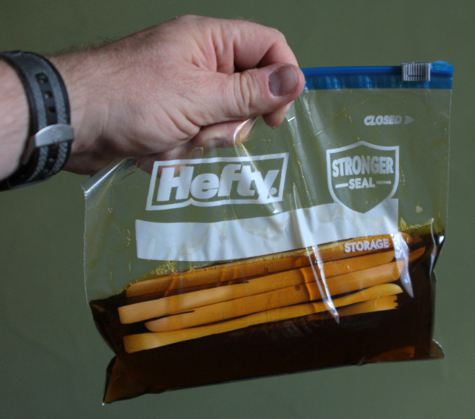
 I used boiled linseed oil, and poured some into a Hefty/Ziploc type plastic bag.
Soak the wood in there for a day or two – at least overnight. You get this usually in the paint department of a hardware store.
The wood is dry and are, and soaking it in linseed oil means that a wood-friendly oil will creep into the fibres and help protect the tools. It takes a while to get into the fibres so leave them to soak a day or two if you can. (Obviously doing a bunch at once for future use makes sense).
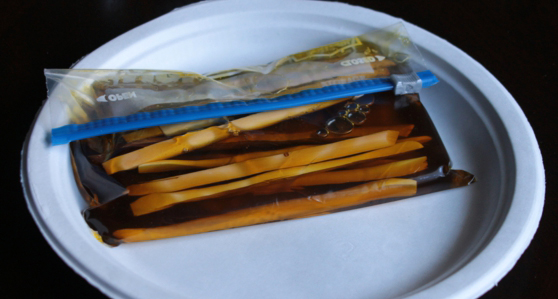
Once they are fully soaked, take them out and wipe them all dry, allowing the surface dry and harden up for a few days. Putting them on a paper plate or some kitchen paper towel will prevent staining of any surfaces.
Step 4. Shaping the wood.
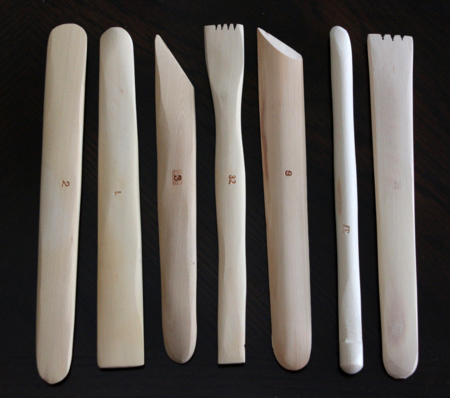
Below are the tools which I like to use for shaping the tool. Now, you are probably thinking “But Stuart, surely if I need to buy all these tools then it negates any savings I would make buy actually manufacturing my own tools”.
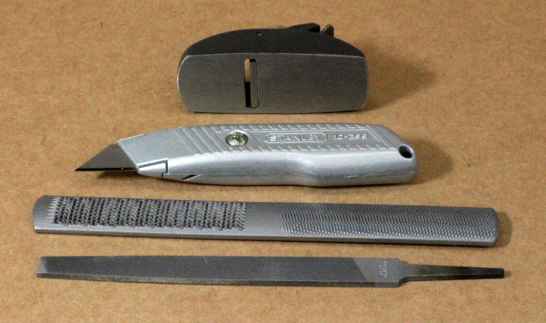 You may have a point, but to be honest I used the Stanley craft knife and some sandpaper the most, and I think that is all you really need to do this.
Here is just an ideal selection as I am a real kit-freak.
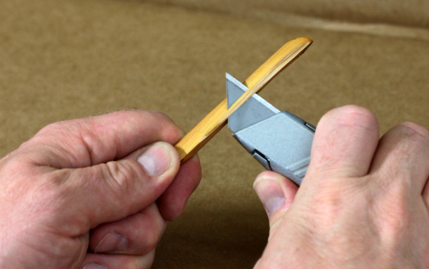 The knife is great as it can easily slice thin sections off quickly. Ideally we want tapered ends with a thicker handle in the middle so I work from the middle outwards bit by bit.
Take care not to remove too much at any one time. If you have a plane or a coarse file then get shaving down with those – but the knife is easily the quickest way of showing that bit of wood who is boss. Occasionally you catch a bit of grain which ends making you take a huge chunk off unintentionally – that is another good reason to prep a load of tools at once. Hmm….really selling it to you, aren’t I?
Using a little block plane makes me feel like Gepetto making my very own wooden boy!
A coarse file is also a nice tool for rounding down shapes quickly without taking huge chunks off in one go.
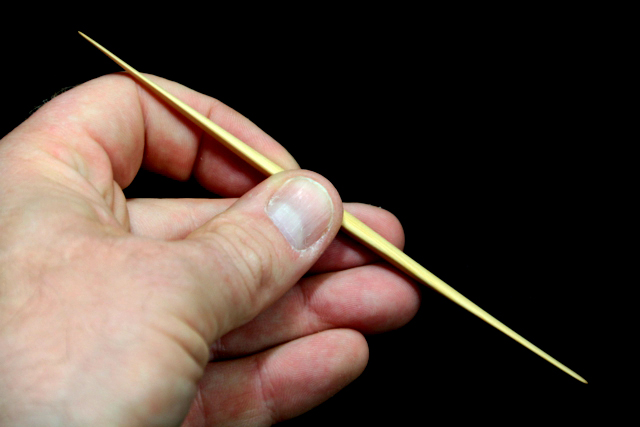
The trick is to take off a little at a time. I like to make one end thinner than the other, so the one tool will have different uses.
For narrow, hard to reach areas a more delicate, thin end is ideal .
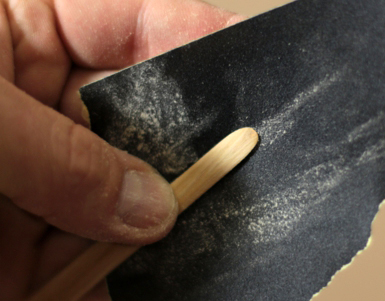
Sandpaper or ‘Wet’n’Dry’ abrasive paper is great for this. Sanding papers are also usually in the decorating area of hardware stores, and a mix pack of coars, medium and fine papers will allow you to get smoother finishes, as you work through them. I started with a ‘120’ grit, and then finished with a ‘400 grit’ – the bigger the number, the finer the finish.
Go too fine though and it’ll feel like wiping a plain piece of paper over it with no appreciable difference. That would be just too fine – seriously, don’t get something like 1600 grit unless you are prepping a Ferrari for a respray.

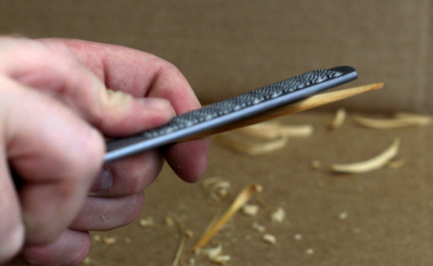
The rounder end made with the file and sandpaper.
Sandpaper or wet’n’dry paper works well.
I used it dry, incidentally!
Step 5. Finishing.
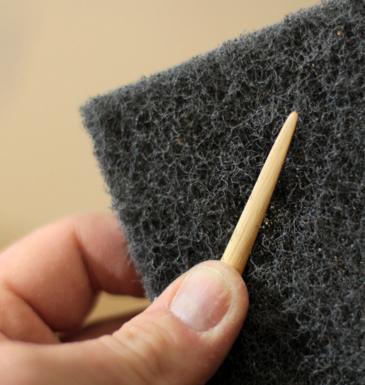
Synthetic wire wool. Great for sanding down for a final finish.
You can use fine grit papers instead, but anything higher than ‘400 grit’ is probably not necessary on wood like this.
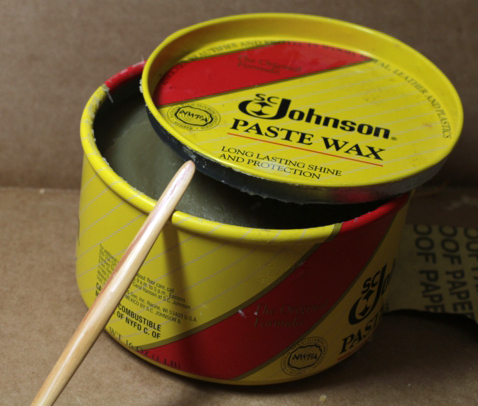
A nice bit of wax such as beeswax or this stuff is good to finish. The oil in the wood is still there, and this wax just gives the surface a shiny gleam which delights the sense of touch more than the eyes.
I buffed the tool surface up using a coarse synthetic ‘wire wool’ (although you could use actual wire wool). This kind of gave it a final pass of sanding which leaves no visible lines or scratches.
A final polish with a wax such as beeswax, Johnson pate wax or even just a good furniture polish will work wonders. I just whacked a load on there, let it dry for an hour, then buffed it like shine-junkie. Whatever that is.
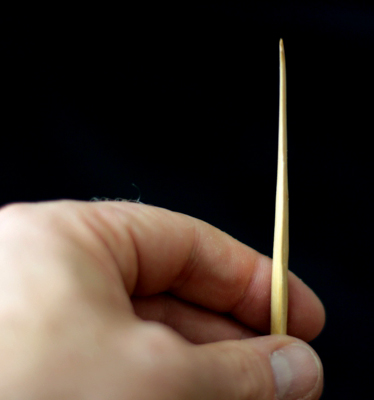
Below, the finished tool. It feels smooth and shiny, gliding over the plastiline surface like a golden skipping stone. The wood, having been soaked in oil and polished to Billy-O and back is now not absorbent, so doesn’t grip the sculpting surface like bare wood does, nor does it absorb any of the oils in plastiline and discolour.
I still have tools 15+ years old which are going strong because of this treatment!
…and, because someone on my YouTube channel pointed it out – yes, I know ‘it didn’t look this hard on Face-Off‘.
As always, I would love to hear your thoughts and comments, please jump at the keyboard and spit me some feedback! The next post will be looking at the sculpting workshop we did at BITY which was a lot of fun.
Til next time!
Stuart