An image of a makeup I did recently had the rare honour of ‘going viral’ (sorta), and it led to an interesting series of developments.
This post is an attempt to process, quantify and clarify my findings.
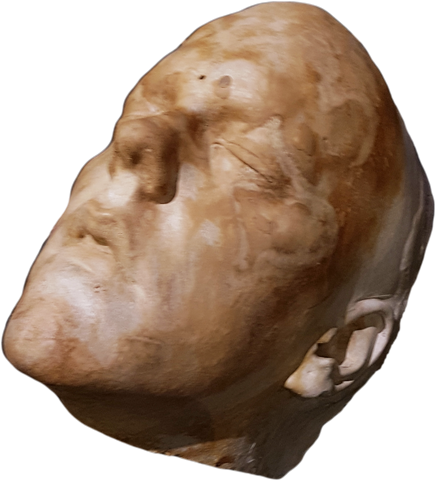
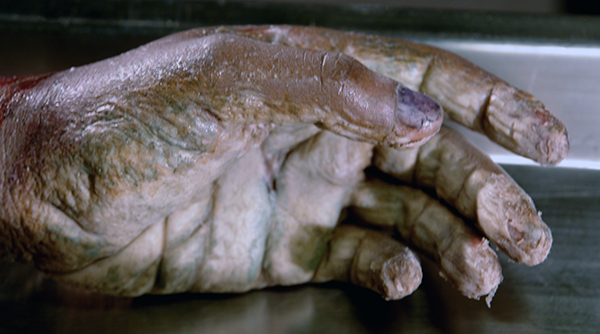
I had an idea to do a steampunk-esque type of makeup as I had thus far never had the opportunity, and I had some notion of what I wanted to do. I liked the idea of a big jaw, a powerful looking character with a jaw which would serve as the central detail as well as provide some stark contrast.
I’ve seen a lot of steampunk-type makeups, and they largely consisted of gears serving no apparent purpose attached to the surface of the skin, coupled with playful use of scarves and big round tinted glasses. Asserting that the time period would allow for some extravagant war injuries, I decided the jaw could be a replacement, perhaps from a cannon blast or such.
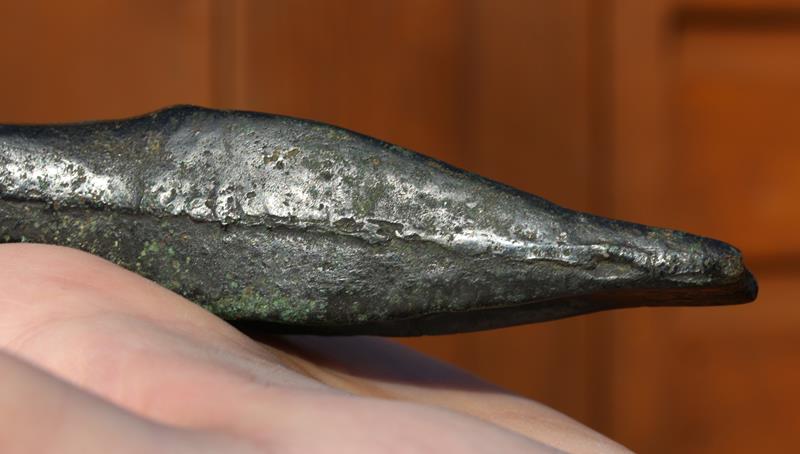
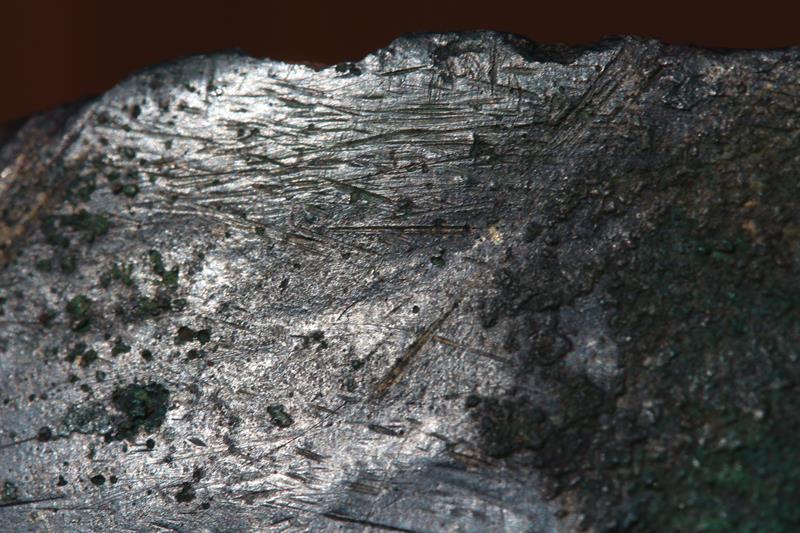
Often, brass or iron effect pieces are used, and I decided that a suitable jaw replacement would be ceramic. Within the imagined storyline, as clay it would be easily shaped to the wearers defect, and as a makeup-design it’s bone-like colour would be appropriate enough yet have a stark contrast to the skin.
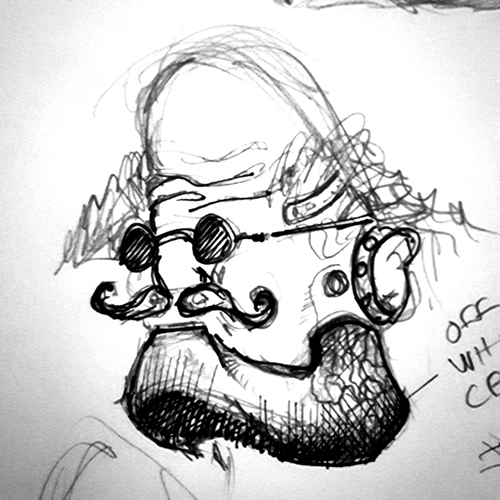
Not being a gifted artist when it comes to pencil renderings of imagined things, I sketched out a few scribbles until I found something which caught my eye.
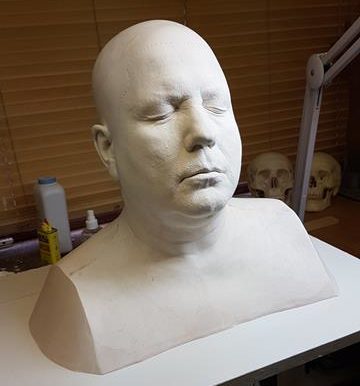
This long faced fellow popped out of the page, and whispered something about viable believability, and that I should seriously consider him for the part. Not having any other contenders, I heeded his virtual advice and began work on a clay sketch to see where it would go. Lets call him Max Mandible.
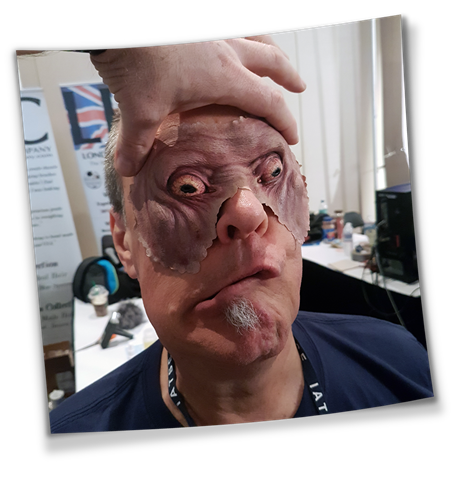
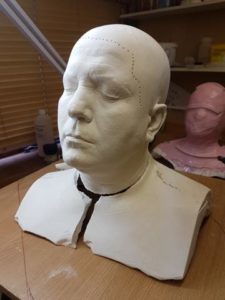
It looked for all the world like Paul Ewen (a regular associate, largely due to his full immersion and dedication to character) to me, so I set about prepping his headcast in the flat grey basetone which usually signals that creative battle is about to commence.
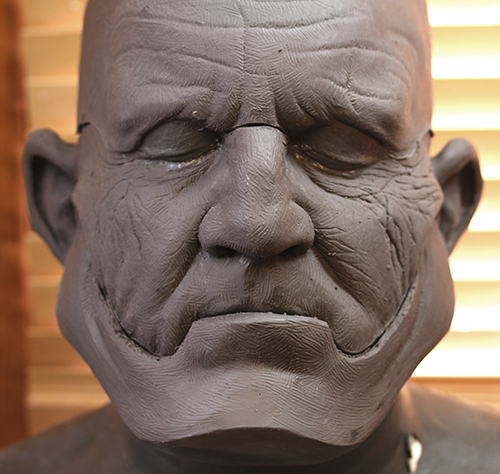
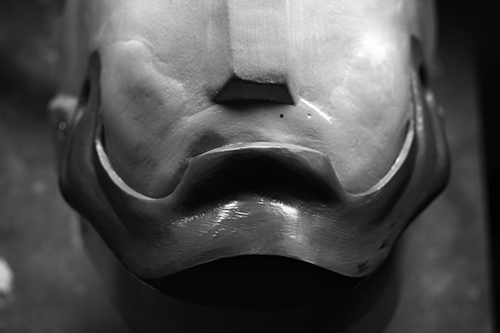
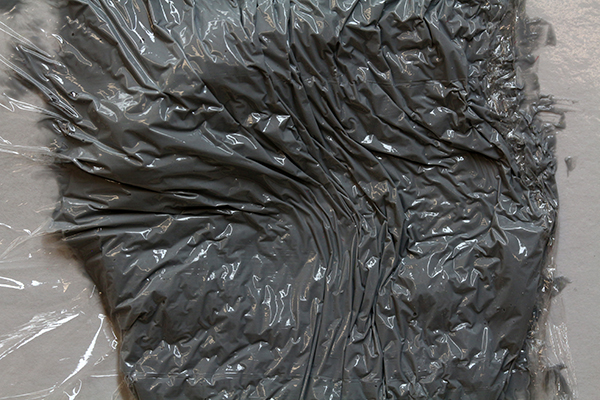
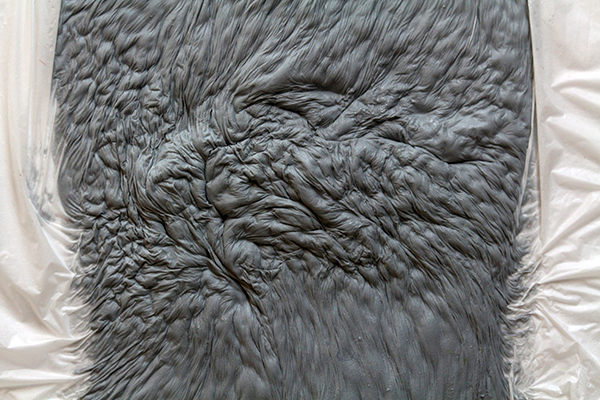
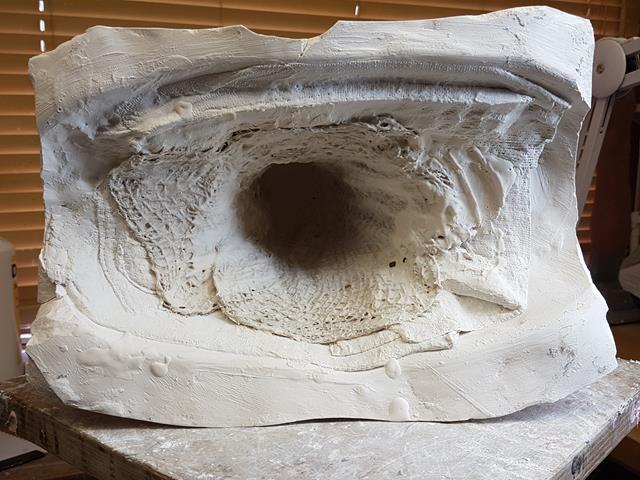
As is usual, the sculpt is to be finished as a design without care or heed to how it will be achieved. At this stage I want it to look right – the ‘how’ part we figure out afterwards. Once sculpted, the pieces are sliced at the appropriate points to make separation easier when this is floated off. In this case, the front of face and ears was a single piece, the jaw was another piece and the forehead/back of head and neck was another.
For an in depth look at the ‘floating’ pieces and why separating out sculpts into smaller pieces may be necessary, check out this post with a downloadable workbook.
I wanted this to be lightweight and opted for foam latex, and once everything was finished onto their respective cores, the mould were made in fibreglass to allow swift baking and speeding up turnaround time. For this, I turned to Rob Smith, blood and foam maestro of many years experience.
(Catch our 2-part podcast with Rob Smith if you haven’t already – part 1 here and part 2 here).
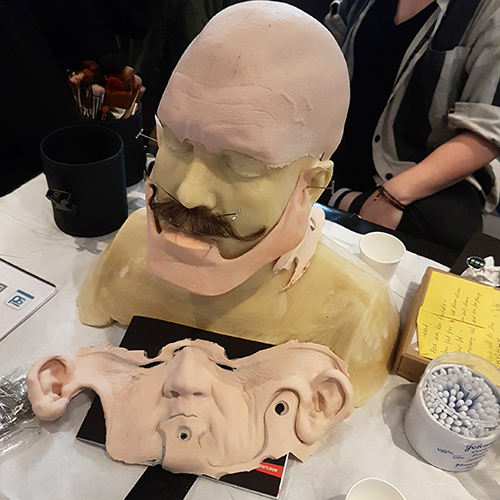
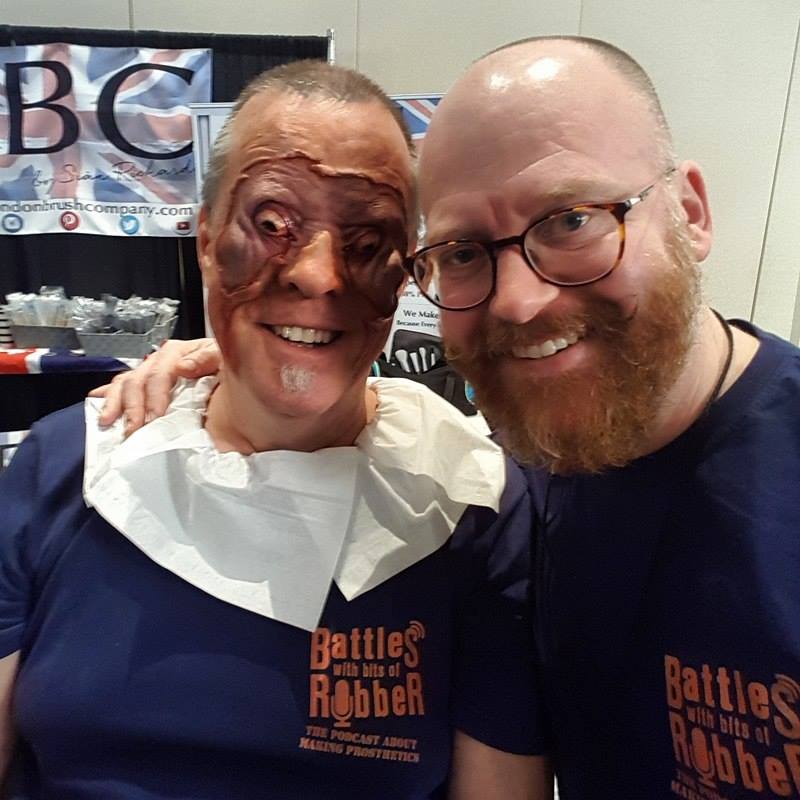
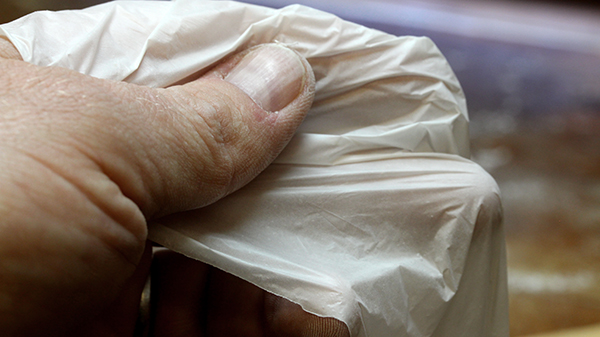
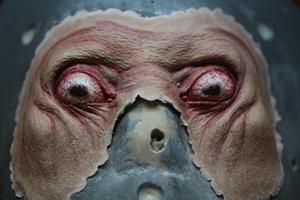
Rob quickly turned out a couple of beautiful sets of foams, light and soft yet strong (sounds like a toilet paper ad) which were easily seamed and painted. For this task, I had Jess Heath give me a hand. She basically seamed and painted the makeups at the trade shows that we applied them at (UMAE 2017 & London IMATS 2017). As you can see, foam doesn’t look like skin at all and needs to be painted correctly to supply the appearnace of translucency.
For hairpieces, Jutta Russell knotted me some lovely brows and a moustache in a very quick turnaround. Within a few days, they had spirited from her head block and into my hands via a swift postal service. I always enjoy the thrill of opening the cardboard box and peeling away the waxed paper veils to discover the magic inside. As per the Victorian ideal (and my own desire for waxed-curl perfection) the tonged and styled twirl remained handsomely in place, patiently awaiting a heroic top lip on which to take up residence.
It is a truth universally acknowledged, that a splendid top lip in possession of a ceramic jaw, must be in want of a moustache.
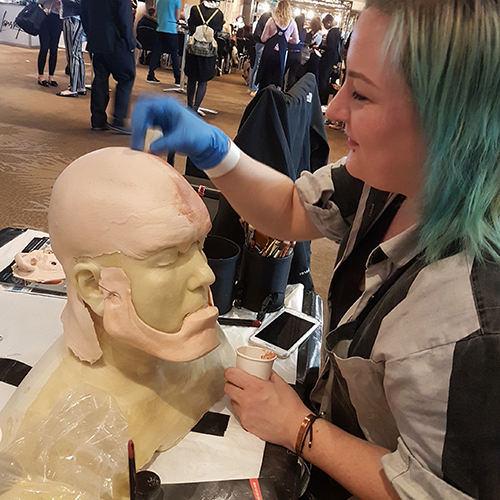
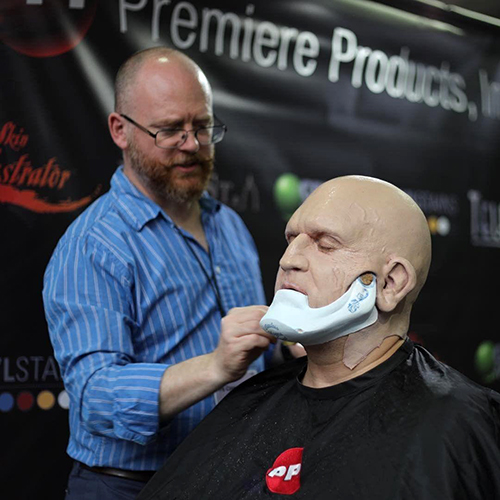
Prepping pieces at a show table with people watching and asking questions can be a stress, but I thought part of what I wanted to show was how this stuff gets done, as this is the kind of thing that is hidden from view usually. At UMAE, Jess trimmed, filled and painted everything right there on the Saturday.
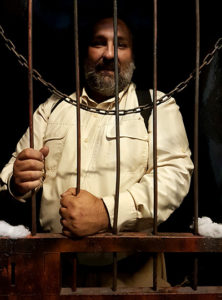
As you can see, Jess was busy and helped me apply these pieces whilst I was off and about doing stage spots and jumping back in every now and then. We finished off the makeup at UMAE and it went down a storm.
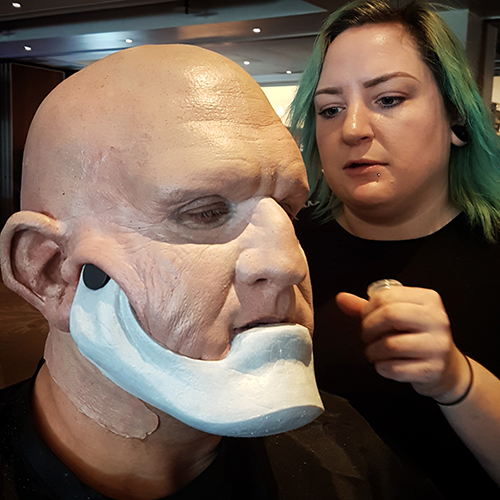
The neck was always an issue for me, as I didn’t want skin visible. I reasoned a bellows of leather, sealed around under the jawline would supply a decent range of movement and allow a better segue between the makeup and costume.
I had artist and all-round talent Violet Casselden make me a custom faux-leather neck piece. Real leather was a bit too firm, and as comfort and movement mattered, we decided this was the best option, and being easier to stitch meant there was plenty of scope for details and seams without too much extra time and work involved.
Very happy with the result, but as is always the case when you apply, the first time shows you the issues and the second time around is better. So, we decided the crowd at IMATS London would like to meet Max too. So it was on the PS Composites stand that Max was once again born.
As I usually take pictures of progress, I myself am never in the photos so I am indebted to those who kindly take pics and send them to me. I am particularly grateful to Mauro Zenoniani, Horacio Martinez, Markus Glazner and Jeff Daniels.

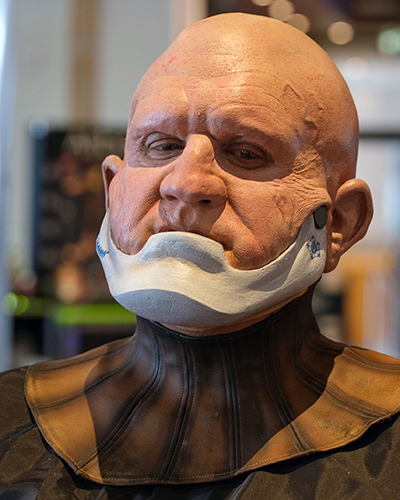
Image courtesy of Mauro Zenoniani
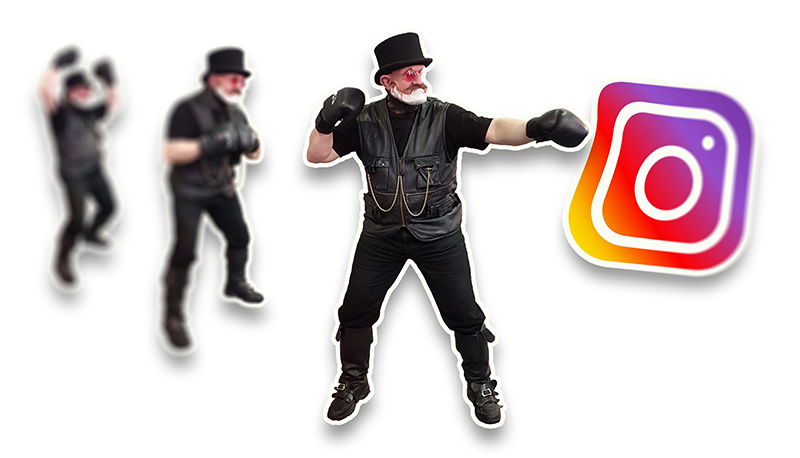
So, job done and fun had by all. As is my way, I regularly updated followers with progress shots, often zipping out 10 updates a day so as to keep interested parties abreast of developments in almost real time.
That way I am able to demonstrate how some things are quickly achieved and others are more involved.
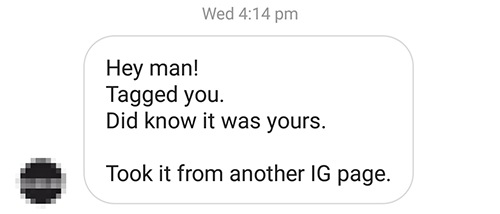
It was a month or so after that I first was alerted to the image being is someone else’s Instagram feed. Another account had used it, not asked nor had they credited me. I’m not amazed or stunned – the internet does this I realise. Then I got notifications from others, and others still.
Once I had mentioned this on my own account, others started appearing and I stopped counting after 40. There seemed little point, as clearly it was doing the rounds and at a rate that any formal complaints procedure was unlikely to outwit.

A selection of some of the posts from various accounts.
They got more likes for my image than I did.
As is the way, those that ‘repurpose’ the image for their own ends have themselves also had it swiped from them, so much so that nobody seems to know where it came from or that it was even remotely unkind to do so.
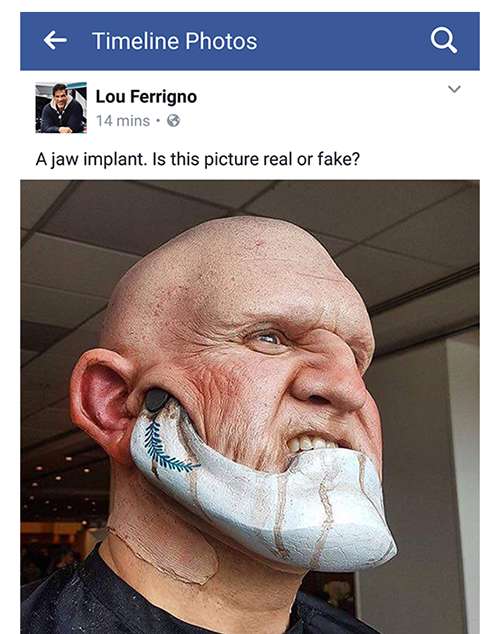
It even came to something when the original hulk, Lou Ferrigno posted it on his Facebook page.
Now. Its important for me to make something very clear.
I didn’t write this because I was angry, upset or felt cheated. Well, maybe a bit. This all started weeks ago, and in all fairness I did feel those things. On some occasions, I was credited but more often than not I wasn’t (I suspect it is now so far removed from the source material, the scope of investigation to track down the original owner was far too involved for the casual poacher)
I am in fact writing this because I chanced upon a makeup design which seems to have grabbed imagination but it takes on a life of it’s own, beyond it’s intended purpose. The vast majority of accounts that have used my images have exposed them to many more people than my account has. The output of these accounts is almost exclusively made up of stolen images from others.
You can see in the accounts that they often use the same images over and over, all presumably to swell follower numbers. The idea is simply to use striking images, regardless of their origin, in an attempt to grab attention and followers. Usually the accounts are selling either a social media marketing course (great indication of their methods if in order to do so they need to steal other peoples work) or to accumulate followers so as to be able to charge for shout-outs, or to simply sell the account fully furnished with many eyeballs attached.
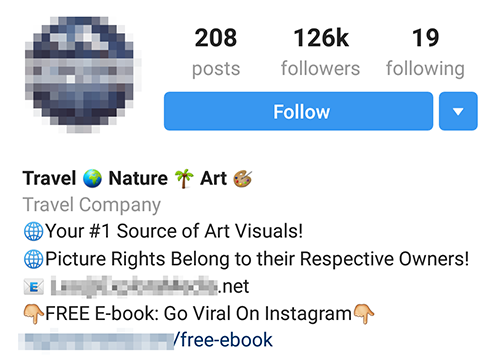
‘Go Viral’ on Instagram, I’ll show you how I used other peoples images so you too can use other peoples images.
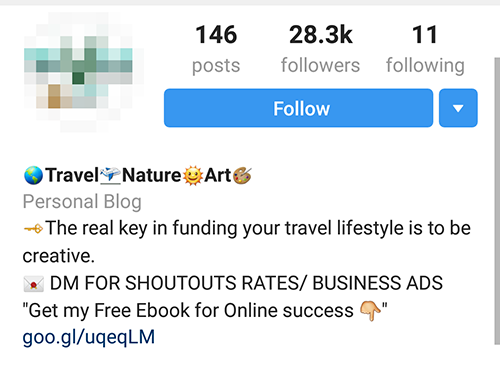
‘DM for shoutout rates’. That’s right. the only reason you are following me is so that I can charge you for shouting out to others like you who apparently want to be successful but bringing nothing whatsoever to the table.
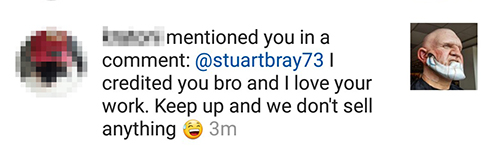
One ‘user’ of my image claims to love my work and not sell anything.
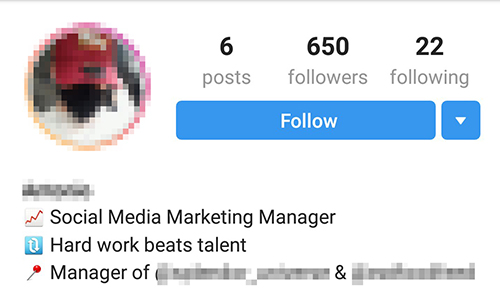
This from a ‘Social Media Marketing Manager’
whose profile consists of a bandana-masked face.
They are not artists using these images and claiming as their own. I’ve had a lot of support from friends who have been angry on my behalf assuming this was the case, but it isn’t. That would be a precarious and risky business as the creative world is pretty small, and when someone is paying for your ability, that is a pretty silly way to get work you can’t do.
No, this is all ‘online marketing’.
The reason this is interesting – and the reason for this post – is that it’s a very clear that in a desperate attempt to get as many eyeballs and followers as possible that they will basically poach all their images without conscience.
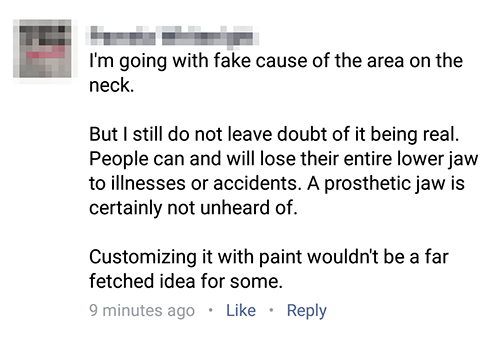
There is usually a call to action or response in the post such as ‘Real or fake?’ or ‘Who can explain this?’. This then causes a slew of responses as the many followers are compelled to weigh in with their sharp observations such as:
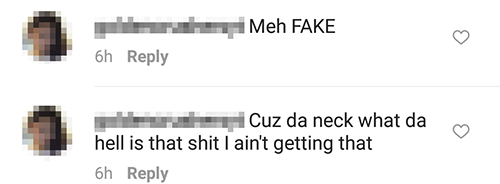
Or this considered masterpiece:
I like to respond with my own attempt at recovering some value from the thousands of likes their posting of my work is getting:
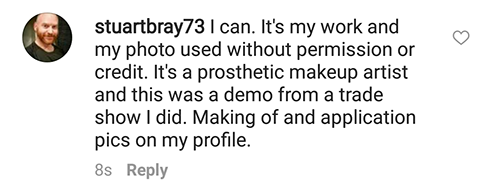
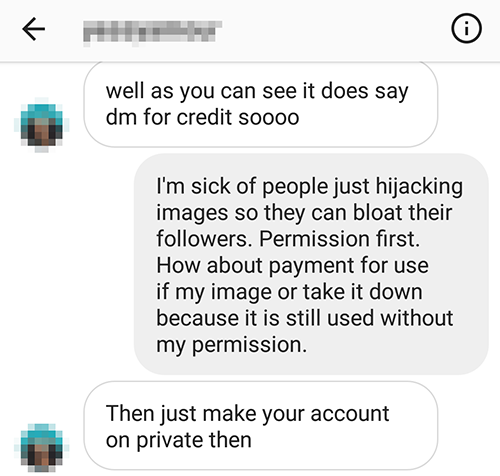
This has led to some direct messages essentially defending the reuse of an image:
I admit, I could make my account private. However, I do want people to see my work so does that mean in my own way I am just hungry for eyeballs? Perhaps, but the images I post are my own work and not there to sell crappy gadgets or a dubious marketing course.
In a response to something mentioned on Facebook about watermarking images, my reply was this:
“I do now watermark my images as you’ll see but it’s another step on what was a very fluid process. I often instagrammed live progress shots but now I need the interruption idea second app to watermark the image first.
I’d like it if Instagram supplied a watermark capability as a filter as they have a number which are useless. There are regramming apps which automatically include the original profile so credit can be traced back easily.
What I object to is someone being called on their bullshit and then adopting a defensive moral highground where ‘just because I could have asked for credit’ makes it ok in their head. Messaging me as if they are the injured party.
Like taking things from a shop with money in your pockets claiming it isn’t shoplifting ‘if only you’d asked me to pay.’
Their accounts all seen to be using the same images over and over and they are mostly selling ‘marketing’ courses (whilst displaying a pretty poor show of their methods in the process) or else I suspect swelling follower numbers to sell the account on to whoever is happy to pay them.
I appreciate that watermarking images is sensible and the responsibility of the account user. So I have adopted this to my time cost.
We lock our front doors because without that we’d freely have intruders no doubt. However if you break in and take something you’re still a thief and unlikely to be released without charge simply because the lock was easy to pick.
Point is they are twats and it’s my right to say so.”
So, what is the conclusion? Essentially that there are two strands to the equation.
One strand is there exist people who are capable, creative individuals seeking to matter, be heard and influence others with their output. In a world increasingly seeking to automate with cheaper, more reliable alternatives than trained people (understandable from an economics point of view) there is an excessive of unfulfilled creativity. As a result there are people who just want to make things – be responsible for something – and have that matter.
The other strand is a group aware of people who want to make money by selling, to not be directly responsible for anything original but to just reconfigure existing ideas and content and endlessly recycle them for profit.
I remember in City Slickers, that Billy Crystals’ character has a moment where he recognises his frustrations of his job selling air time for radio commercials. He recalls his father was an upholsterer and had something tangible at the end of his working day to look at as proof of his time spent.
I think that lack of proof of influence on things, where individual output is swallowed up in a big machine – certainly if you are a team member contributing to something larger then it’s hard to quantify your input despite the accumulation of effort as producing bigger results overall. I suspect the less hands-on you are with something, the greater the scope for dissatisfaction.
There are plenty of people just looking to ride someone else’s wave, and bring nothing to the party. I suspect that’s a pretty unfulfilled life however. I urge you all to keep creating and keep coming with the new. It matters. That is what I have learned.
Stuart

 I wanted to take a tour and chat with Allen about what it takes to keep people scared and the business of running a haunt all year round. Podcast Time!!!
 Allen Hopps is an experienced and well respected director of Dark Hour, but he also regularly gets his hands dirty, making things for the show as well as running workshops where he will teach others the tricks to efficient working to deadlines and budgets.
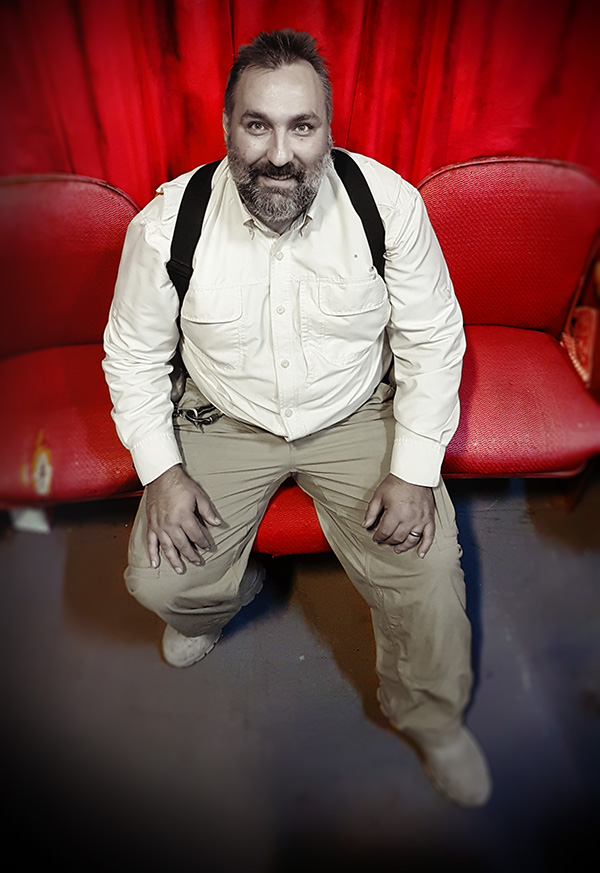
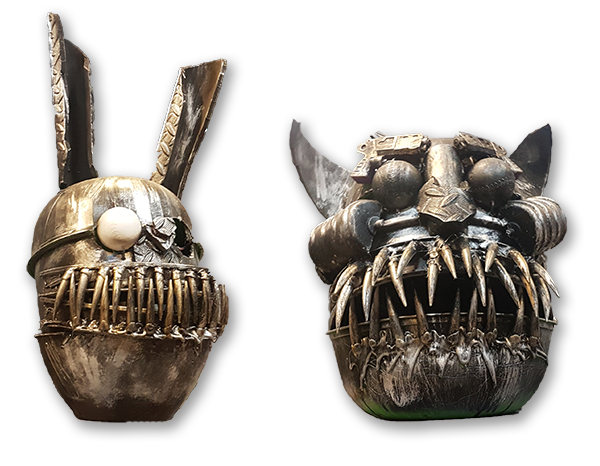
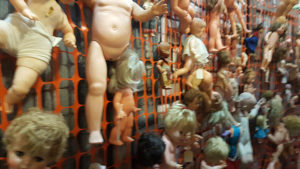 From thousands of doll moulds and doll parts (courtesy of diligent craigslist hunting) to stiltwalking, a child murdering character who makes his own choloroform, real tarantula skins on a pizza, mechanised werewolves, witches jumping down from the sky, rooms which shake, sparks, stairs which burst open and magic paint jobs which only work in the dark…..the toolbox of a haunt is a crazy mix and it has to be experienced to be believed.


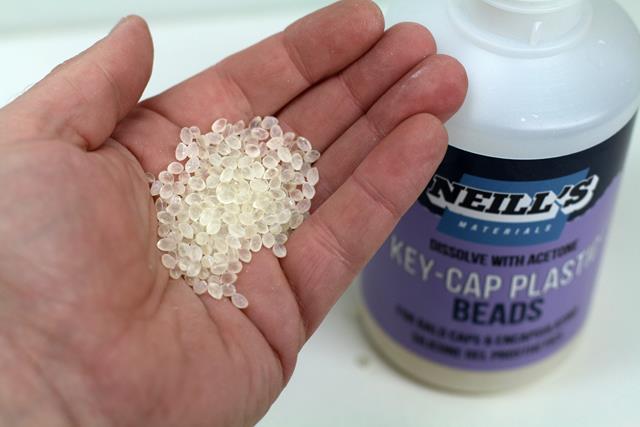
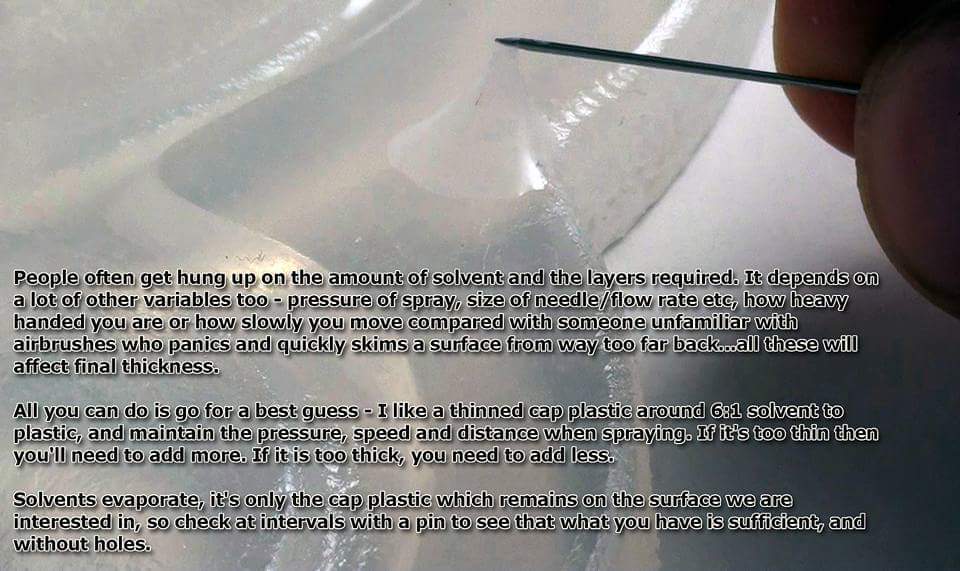
 Cap plastic is big.
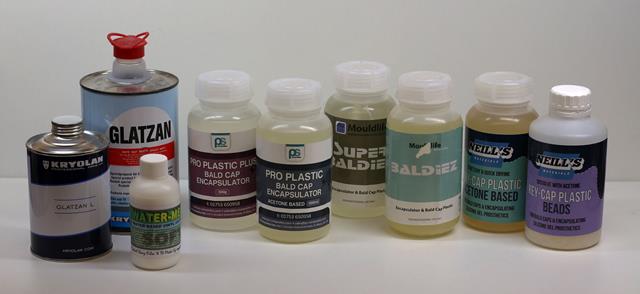


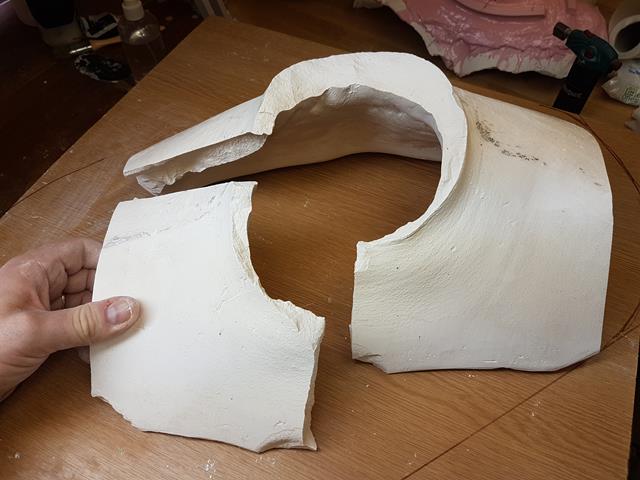 I fortunately caught the head before gravity played its full measure of trickery, but even so, it meant my beautiful lifecast was now in three pieces instead of the convenient single article. Utter fuck.
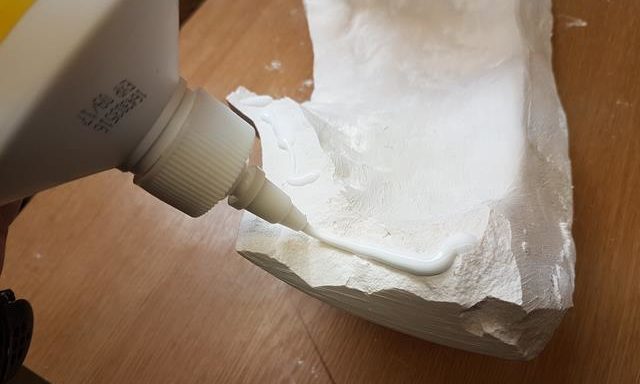
 In part 2 of our discussion, Rob Freitas talks about the value of knowing about the unknowns.
 Another aspect we touch on is how many of us working can count on the lack of distractions we had from the internet.
 Rob Freitas is one of the best-known mould makers in the industry and has a phenomenal reputation.
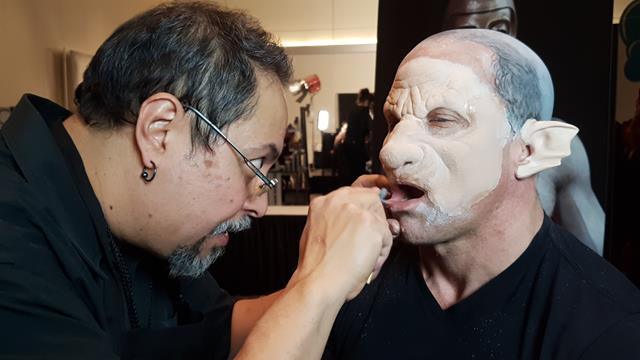
 Latex is often overlooked as people perceive it as this lethal material which has epidemic proportions of allergy.
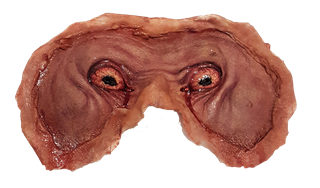 Anyhow, the process from start to finish is covered in this free workbook to download.
 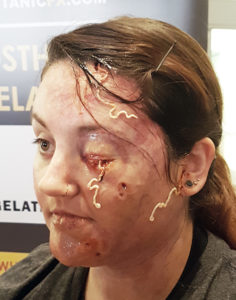 ATS LA
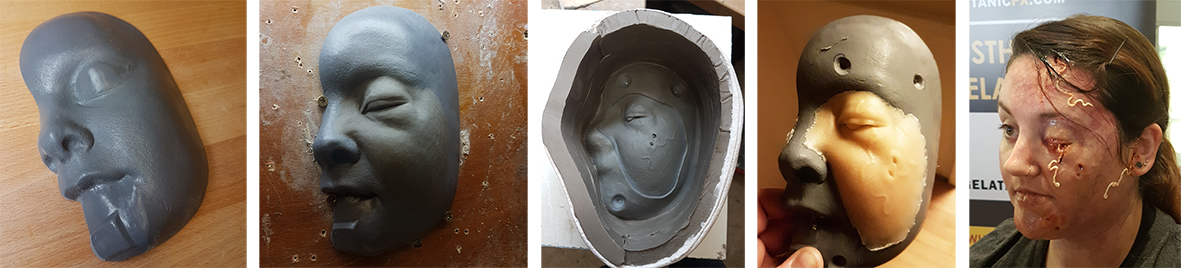
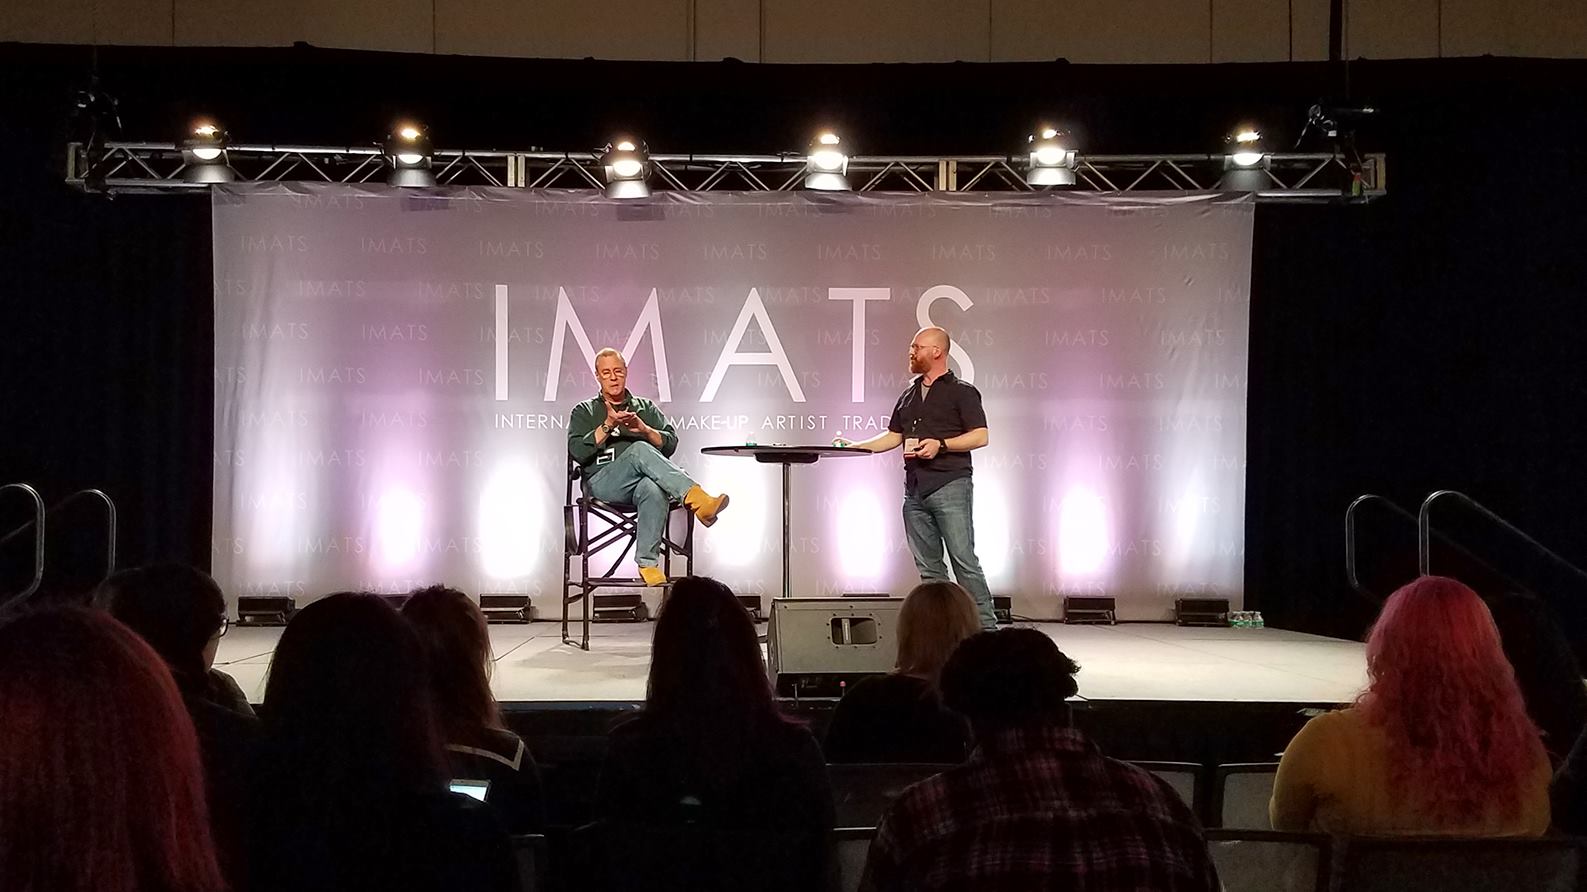
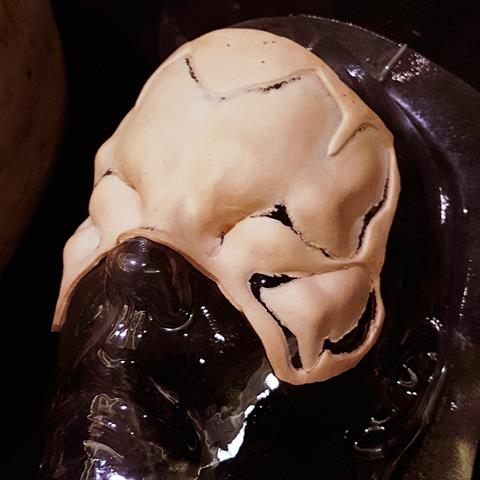
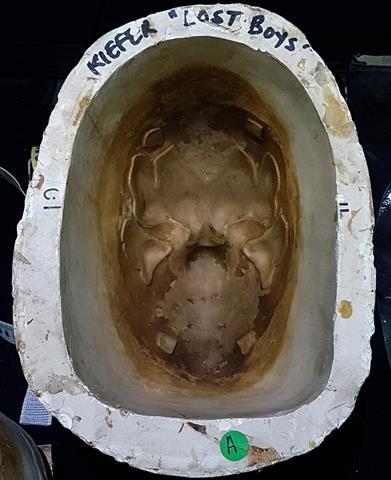
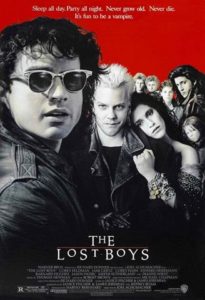 Of particular note was all the things Lost Boys related, and it was a real joy to get up close and examine the moulds and pieces at length. I’ve been a fan of that movie since I saw it as a teenager and knew every scene inside out.